Raspberry Pi is a useful computer system used by many computer science students. There are two ways to control the Raspberry Pi — physically and remotely. If you want to learn how to control and restart Raspberry Pi remotely, this video is for you.
Here is a step-by-step procedure to restart the Raspberry Pi remotely.
What Is Raspberry Pi?
Table of Contents
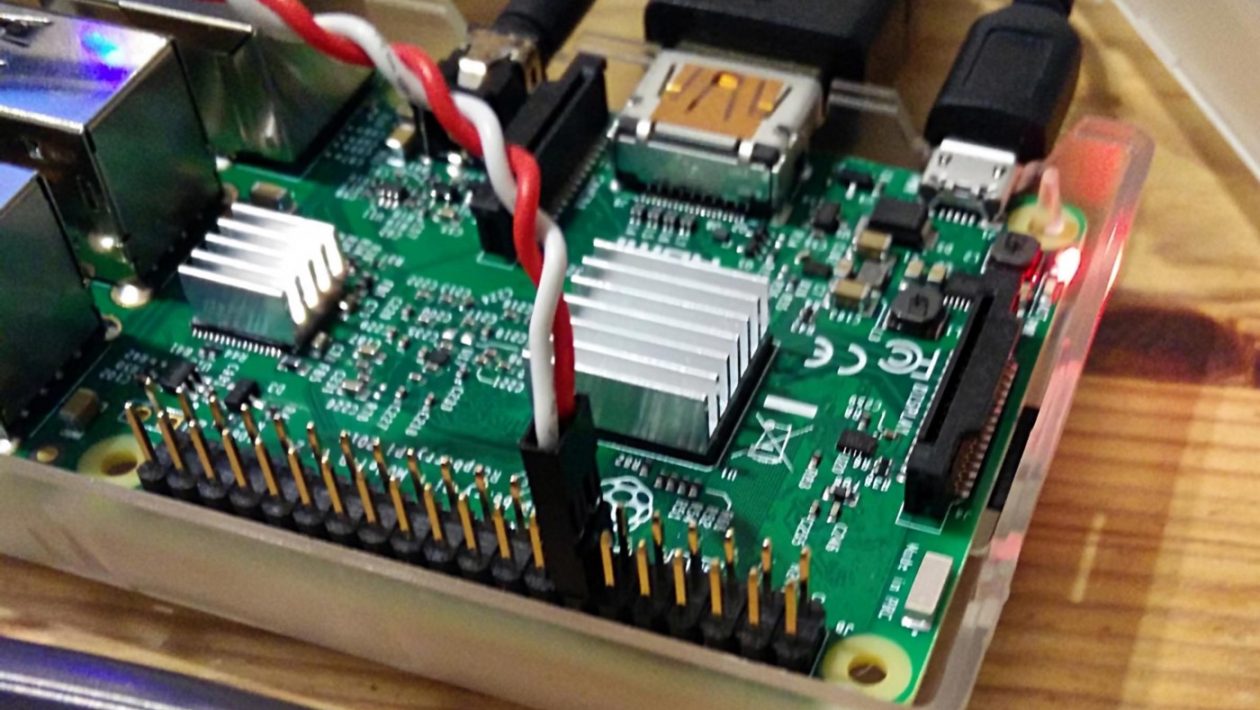
The Raspberry Pi is a single-board computer system used widely for teaching computer science basics in schools and colleges. You can plug a Raspberry Pi into a computer, TV, mouse, or keyboard. If you’re interested in computing and want to explore how it works, Raspberry Pi can be an excellent starting point for you. It’s also a useful tool if you want to learn programming languages like Python and Scratch.
Ways to Control Raspberry Pi
The better control you have over your Raspberry Pi, the more fun it will be to use it and experiment with it. There are two ways to control your Raspberry Pi:
- Physically: You can control your Raspberry Pi physically by unplugging it or creating a power button.
- Remotely: It’s possible to control a Raspberry Pi remotely using a smartphone or laptop.
How to Control and Restart Raspberry Pi Remotely?
Having discussed the two methods to control the Raspberry Pi, let’s come to the question of the hour. How to restart Raspberry Pi remotely? Follow these steps.
Create an Account on Remote.it
The first step is to create an account on the remote.it website. For those who don’t know, remote.it is a platform that lets you use SQL and VPN technologies to control computer systems remotely. Register your account on the platform by entering your email address and confirming your account.
Activate SSH and VNC to Restart Raspberry Pi Remotely
Let’s understand these terms before proceeding. SSH stands for Secure Shell, which is a cryptographic network protocol. VNC stands for virtual network computing, and it’s a cross-platform screen sharing system used to control computers remotely.
It’s essential to activate SSH and VNC in your Raspberry Pi to connect with Raspberry Pi remotely. To do that, go to Preferences and then to Raspberry Pi Configuration. In Raspberry Pi Configuration, go to Interfaces and then enable both SSH and VNC.
Once you enable the two options, the VNC icon will show up in the menu bar.
Install Packages
Next, we’ll give some commands to install and update packages. First, ensure that your Raspberry Pi is connected to the internet. Next, open the terminal window and execute these commands:
sudo apt update
sudo apt install remoteit
The packages will start installing. Once the process is complete, you’ll receive a URL. It could be in the remote.it format, raspberrypi.local format, or the 192.168 format. The IP address will be your unique network, so save it with you.
Register Your Raspberry Pi
The next step is to register your device. Follow these steps to do that.
Open the browser on your Raspberry Pi and visit the following URL:
A window will open, a search for devices with the remote.it software will start. If you haven’t registered a device before, your device will show as an unregistered device. Register your device by entering the credentials of your remote.it account.
There’ll be a confirmation step where all your entered details will appear. These include your device’s name field and default services (SSH, VNC, and remoteit). Click on Register again to confirm your selection.
Connect to Raspberry Pi
After completing the registration process, connect Raspberry Pi through remote.it. There are two ways to do it:
- Using a web service
- Using the remote.it software
Let’s first talk about establishing a connection using a web service. The idea behind connecting the Raspberry Pi to a web service is to provide a proxy connection link for passing all data through the proxy servers of remote.it. Open a browser of your choice and enter the following URL:
app.remote.it
You’ll be asked to enter your login credentials. After entering them, click on Connect and select Raspberry Pi — VNC. You’ll see a VNC Connection window with your port and host data.
Another approach is to connect your Raspberry Pi using a VNC viewer. In your VNC software, go to File and then to New Connection. Paste the combined host, proxy, and port information in the server field. The combined data will look something like this:
proxy50.rt3.io:68415
Last, let’s talk about connecting your Raspberry Pi using the remote.it software. We recommend this method, as it ensures a more secure connection. The security is better because the data doesn’t go through the servers, enhancing the security and also speeding up the throughput and screen response time.
To connect the Raspberry Pi using the remote.it software, you need to install the remote.it desktop software and connect to VNC. The remaining process remains the same.
.
Upload and Run the Script
The next step is to upload a device script, and you can do that in any language. However, it’s best to use a test script first. After uploading the script, change it to an executable script/program and run the script.
Please note that you must run scripts from the Devices window. You’ll get a lot of options and you’ll need to check a lot of boxes. Select the options based on your requirements. Finally, execute the script.
Restart Raspberry Pi Remotely
If you’ve followed all the steps correctly, you’ll be able to connect to your Raspberry Pi via the remote.it app. You can now control your Raspberry Pi. These include starting it and shutting it down, restarting it, and more.
Wrap Up: Restart Raspberry Pi Remotely
You can control the Raspberry Pi either physically or remotely. However, remotely controlling it is more convenient, and it also helps you develop an understanding of wireless connections.
If you want to restart Raspberry Pi remotely, follow the steps discussed above. The procedure is easy, and if you follow all the steps correctly, you won’t face any issues.
So, were you able to control the device remotely?